
Photo Challenge Idea For Your Photography Team: JOSHUA TREE EDITION

Charlene here! I’m the Owner and Creative Director here at Studio Luniste and what I like to do with the team to break out of routine sometimes are challenges to exercise our brain. It helps us to be creative in ways that are either new or unique to what we do regularly in our line of work.
In the past, we’ve done this once before and we focused on creating stock imagery with fruit that was chosen at random. This time around I wanted to get back to the roots of photography and have the team select at random, art techniques that have been used throughout time.
I loved the outcome of everyone’s images and how everyone took the technique and made it their own.
The five photography techniques are:
Black and white photography
Symmetry
Double exposure
Long exposure
Triptych
Negative space
1. BLACK AND WHITE by Charlene

Black and white photography is creating images with the absence of color— to focus on composition, lights and darks, and all the in between to create an artistic shot.
When I was in college, I started out with black and white photography, so I knew my biggest challenge right off the bat was to mute the colors in my mind when photographing and to focus on highlights, shadows, and all shades of gray.
My inspiration was Georgia O’Keeffe’s portraits at her home in New Mexico. I had Pauline, my model, use a blanket to wrap around herself to bring in that desert element and wear black to contrast the lighting since we shot in the afternoon, when it was still bright out. To bring everything together, I had Pauline gaze into the lens or off to the distance to bring a serious, somber tone for the viewer.
2. SYMMETRY by Teal
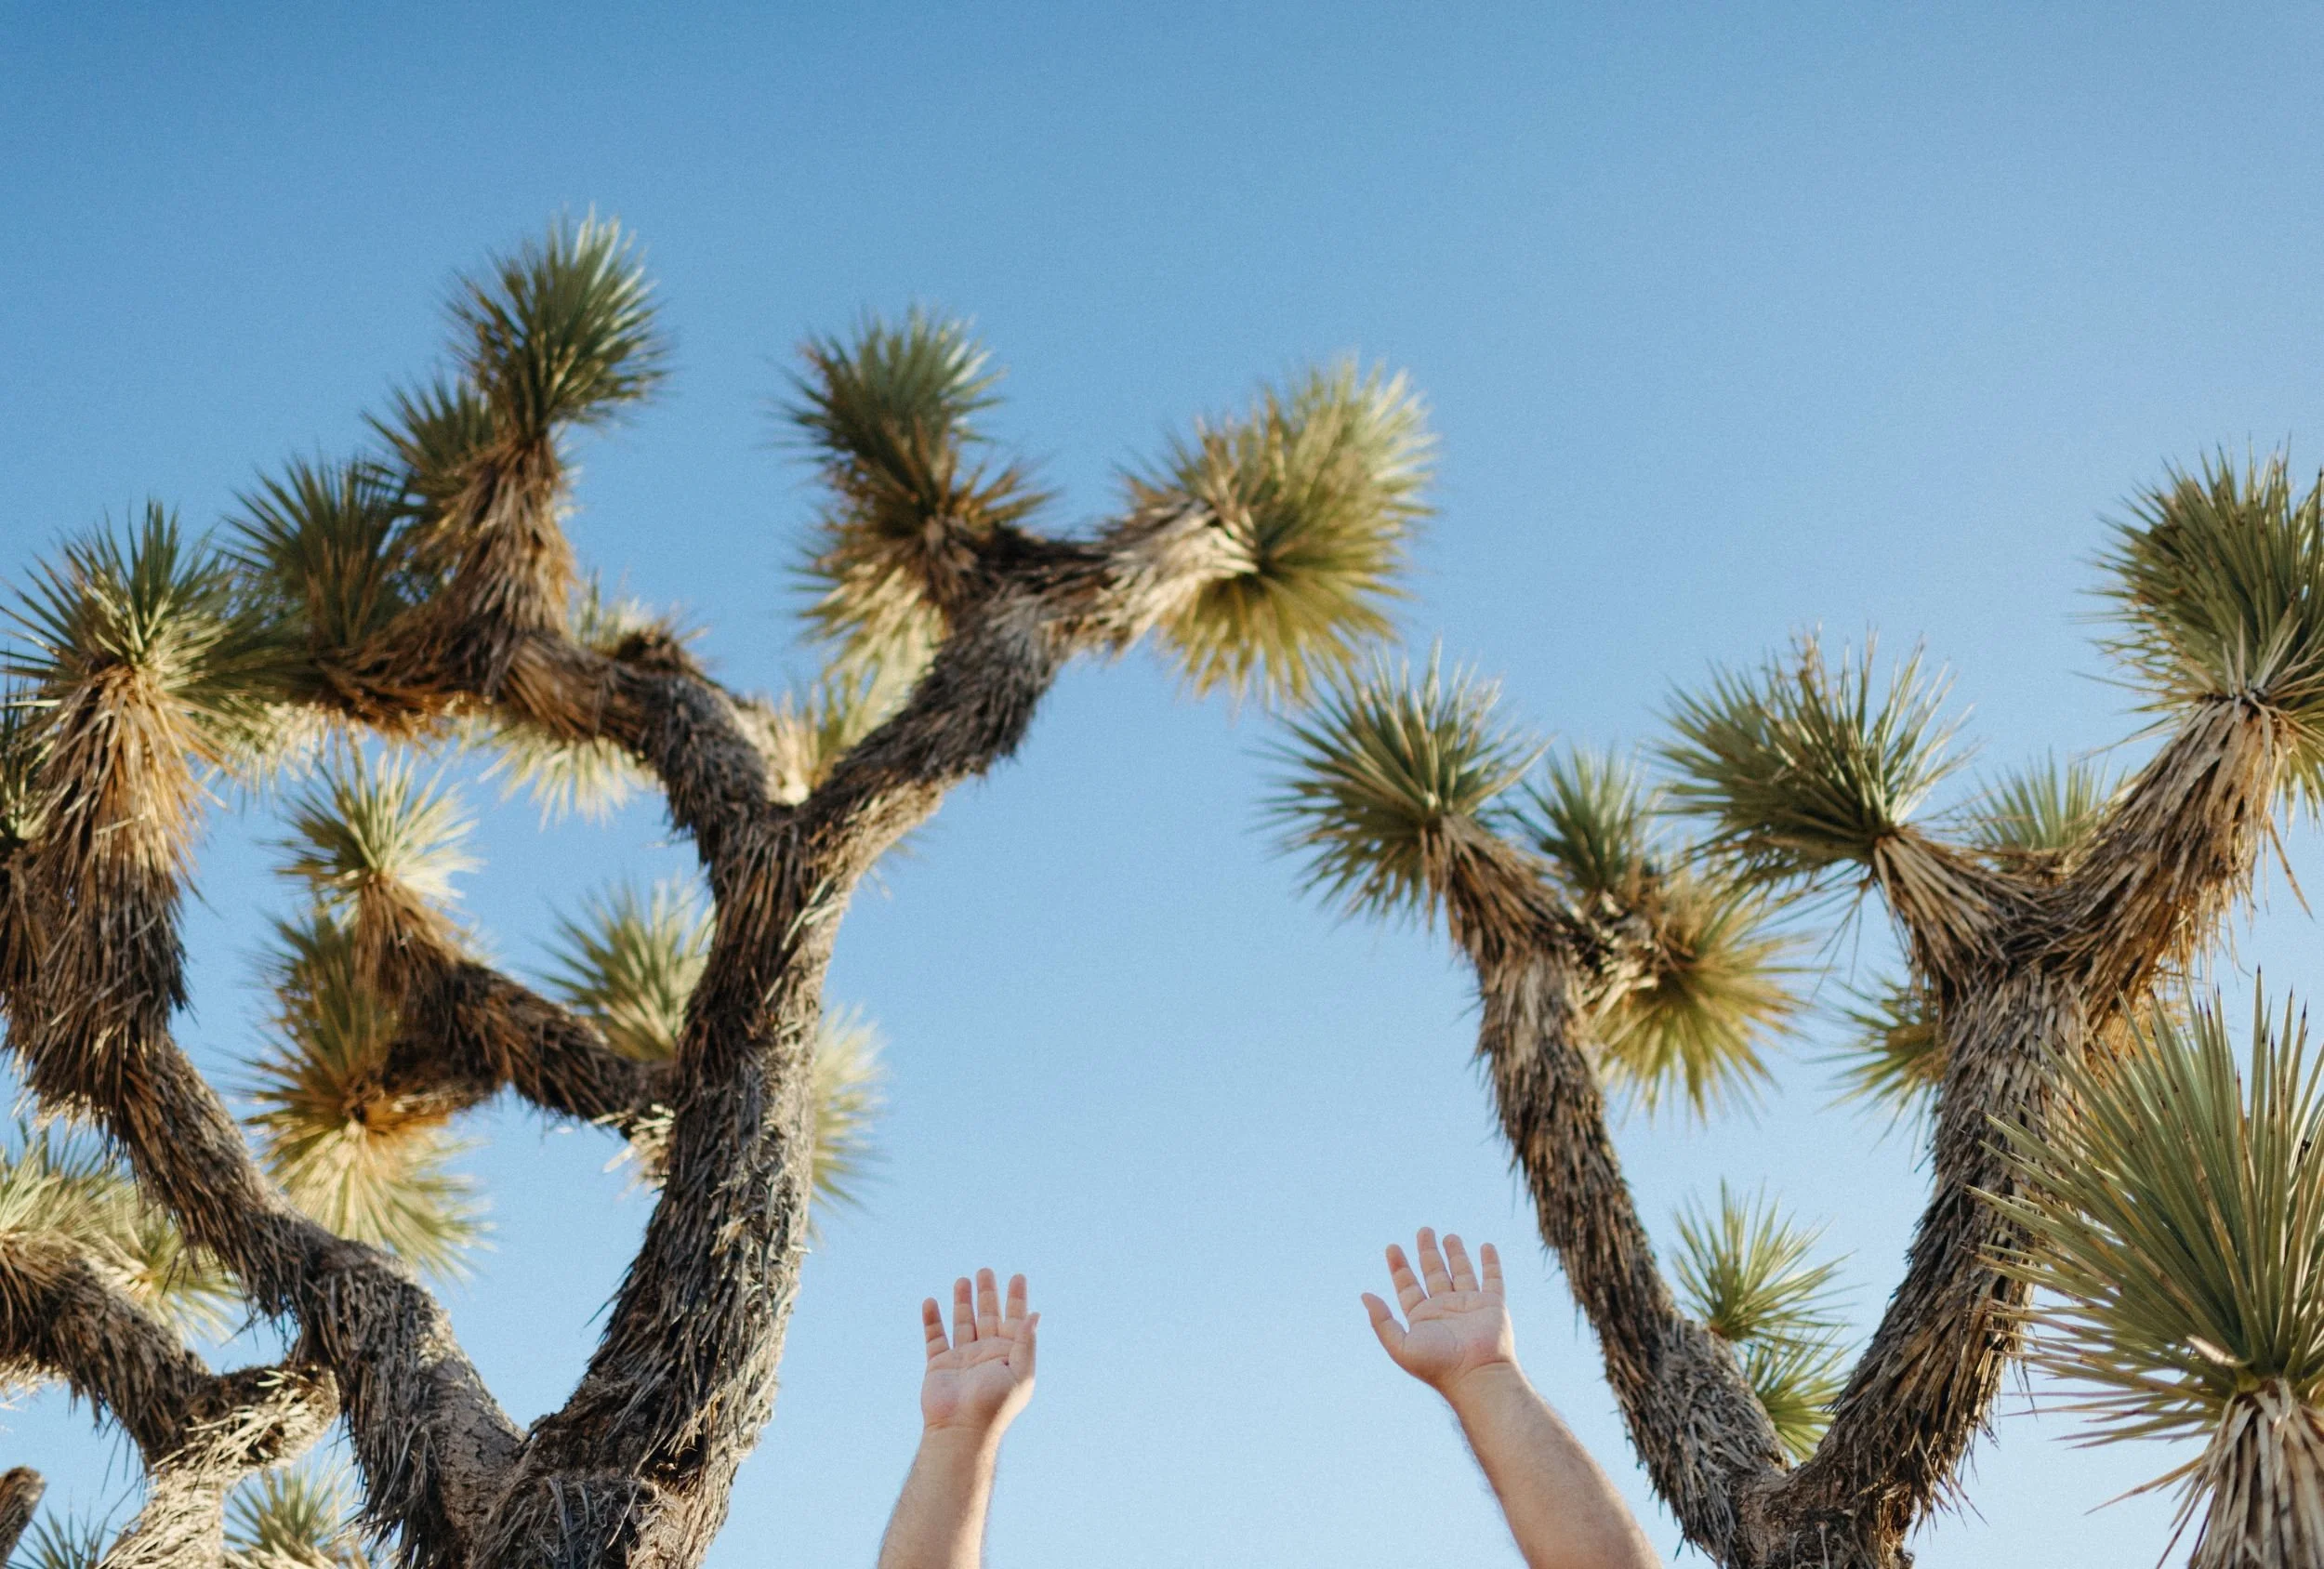
Although symmetry can be utilized in any context, architectural elements and leading lines come to mind for me. Compositionally, symmetry really adds to the feel of intentionality and can make a photograph feel very thought out. It adds elements of structure and balance. Symmetry can also be used to lead the eyes to your subject or what you’re wanting to highlight in your photo.
Personally, I am a nature fiend, and since our retreat was in Joshua Tree, all I was wanting to do was capture the beauty of the natural environment surrounding us. But boulders and Joshua Trees tend to be like humans–each individually different and unique, coming together to create a beautiful desert landscape. I knew I wanted to photograph that because that’s what inspires me. So, I scanned our immediate surroundings, looking for boulders that mirrored one another, or plants that created a symmetrical vignette.
The first scene I noticed was a yucca type plant. I first had Enrique lean against the wall to create another shadow mirroring the one of the plant. I wanted the shadow he was creating to be closer, so I had him stick his arm straight out with one finger touching the wall. Then, I noticed two Joshua Trees right next to another. When I got low and angled my camera up, the trees did mirror one another in a way that excited me, so I pivoted and had Enrique put his arms in the air, with his hands open to mirror the palms of the Joshua Tree.
This ended up being my final image because it brought me feelings of joy, happiness, and celebration, all of which I was really feeling throughout our retreat.
3. DOUBLE EXPOSURE by Jules
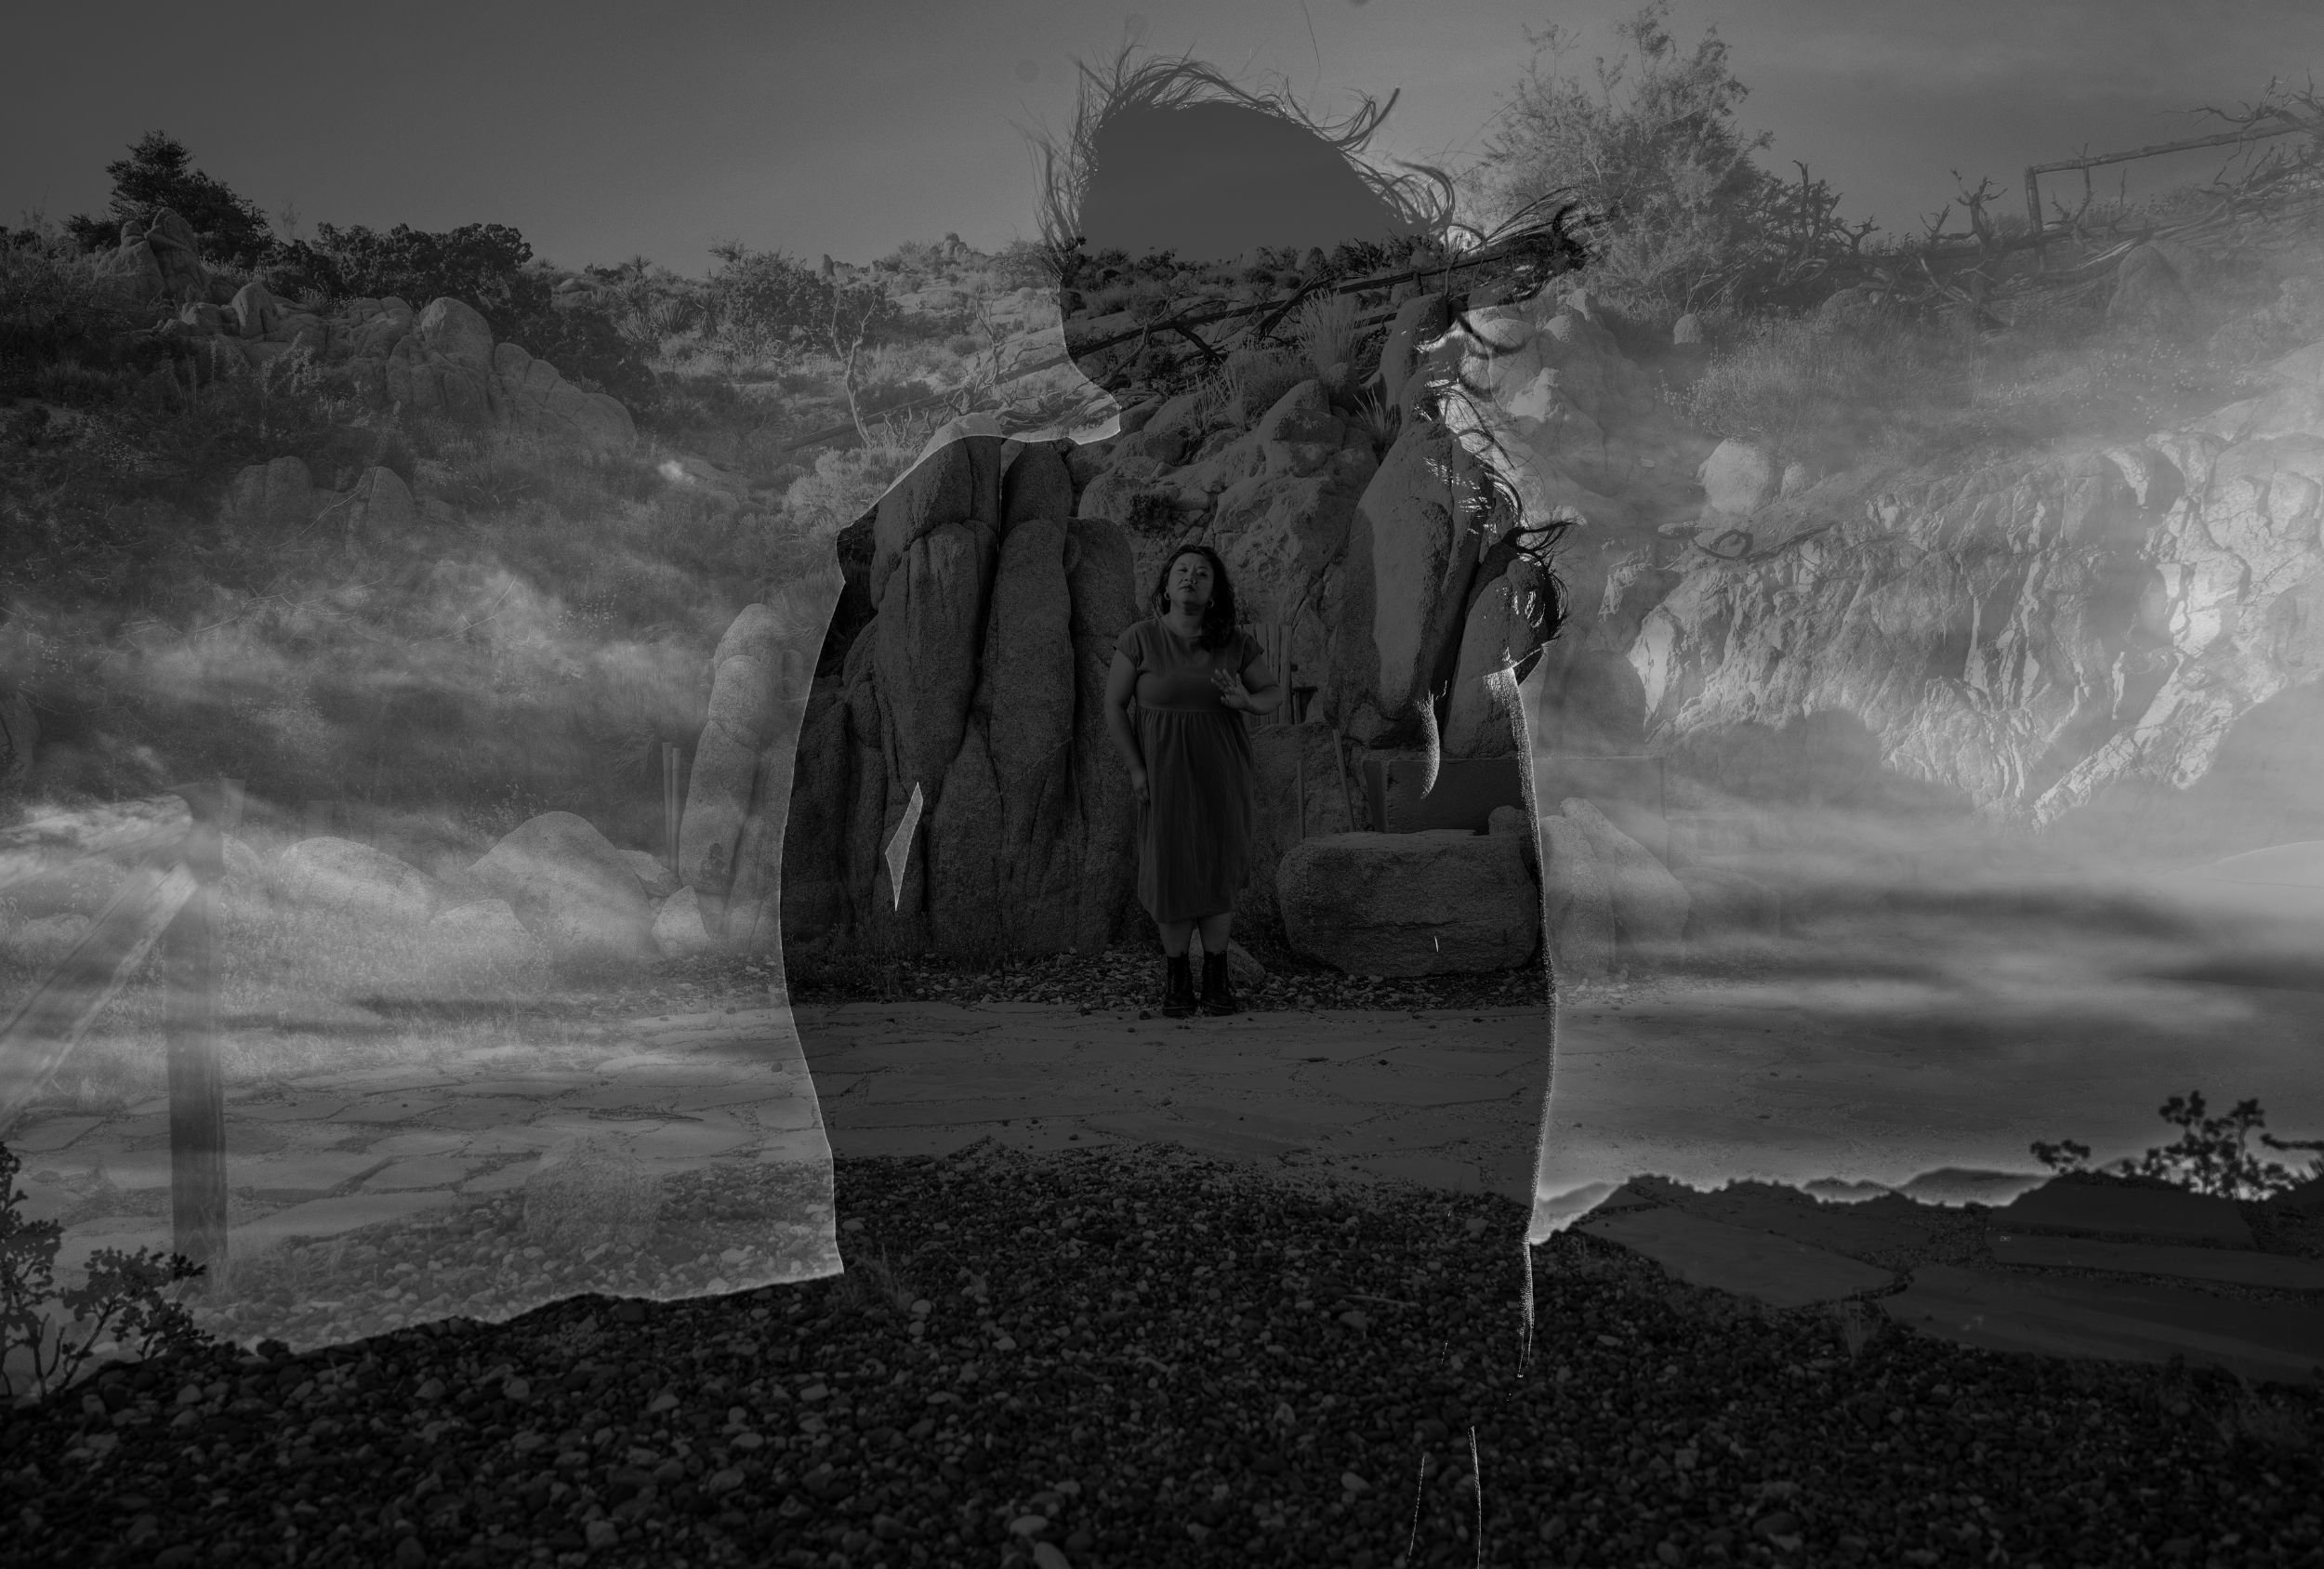
Double exposure photography combines two layered photos together to make one. It is often used to create a photo with deeper meaning or dramatization. For example, you can take a photo of a ballerina dancer standing still and the next photo can be of her doing a signature dance move. When you layer the two photographs together you’ll get beautiful, airy movement and depth depending on the positioning of both.
If you’re working with a digital camera like I was, then the double exposure effect is gonna be done more so in the editing, which was the biggest challenge for me. Because I knew exactly what I had in mind, I needed to make sure that my first photo was simple and backlit to create a shadow and that my second photo had all the beautiful trees I wanted otherwise, I was going to have to rely on two very simple photos which would have been fine, I would’ve just had to pivot into a new concept.
Because I had Charlene as my model, it made the challenge way more fun but she’s also our head photographer so I wanted to make sure that she was happy with the results. In the end, the concept was achieved. I would have liked a little more contrast between the two but I am happy with the results.
4. LONG EXPOSURE by Lexie
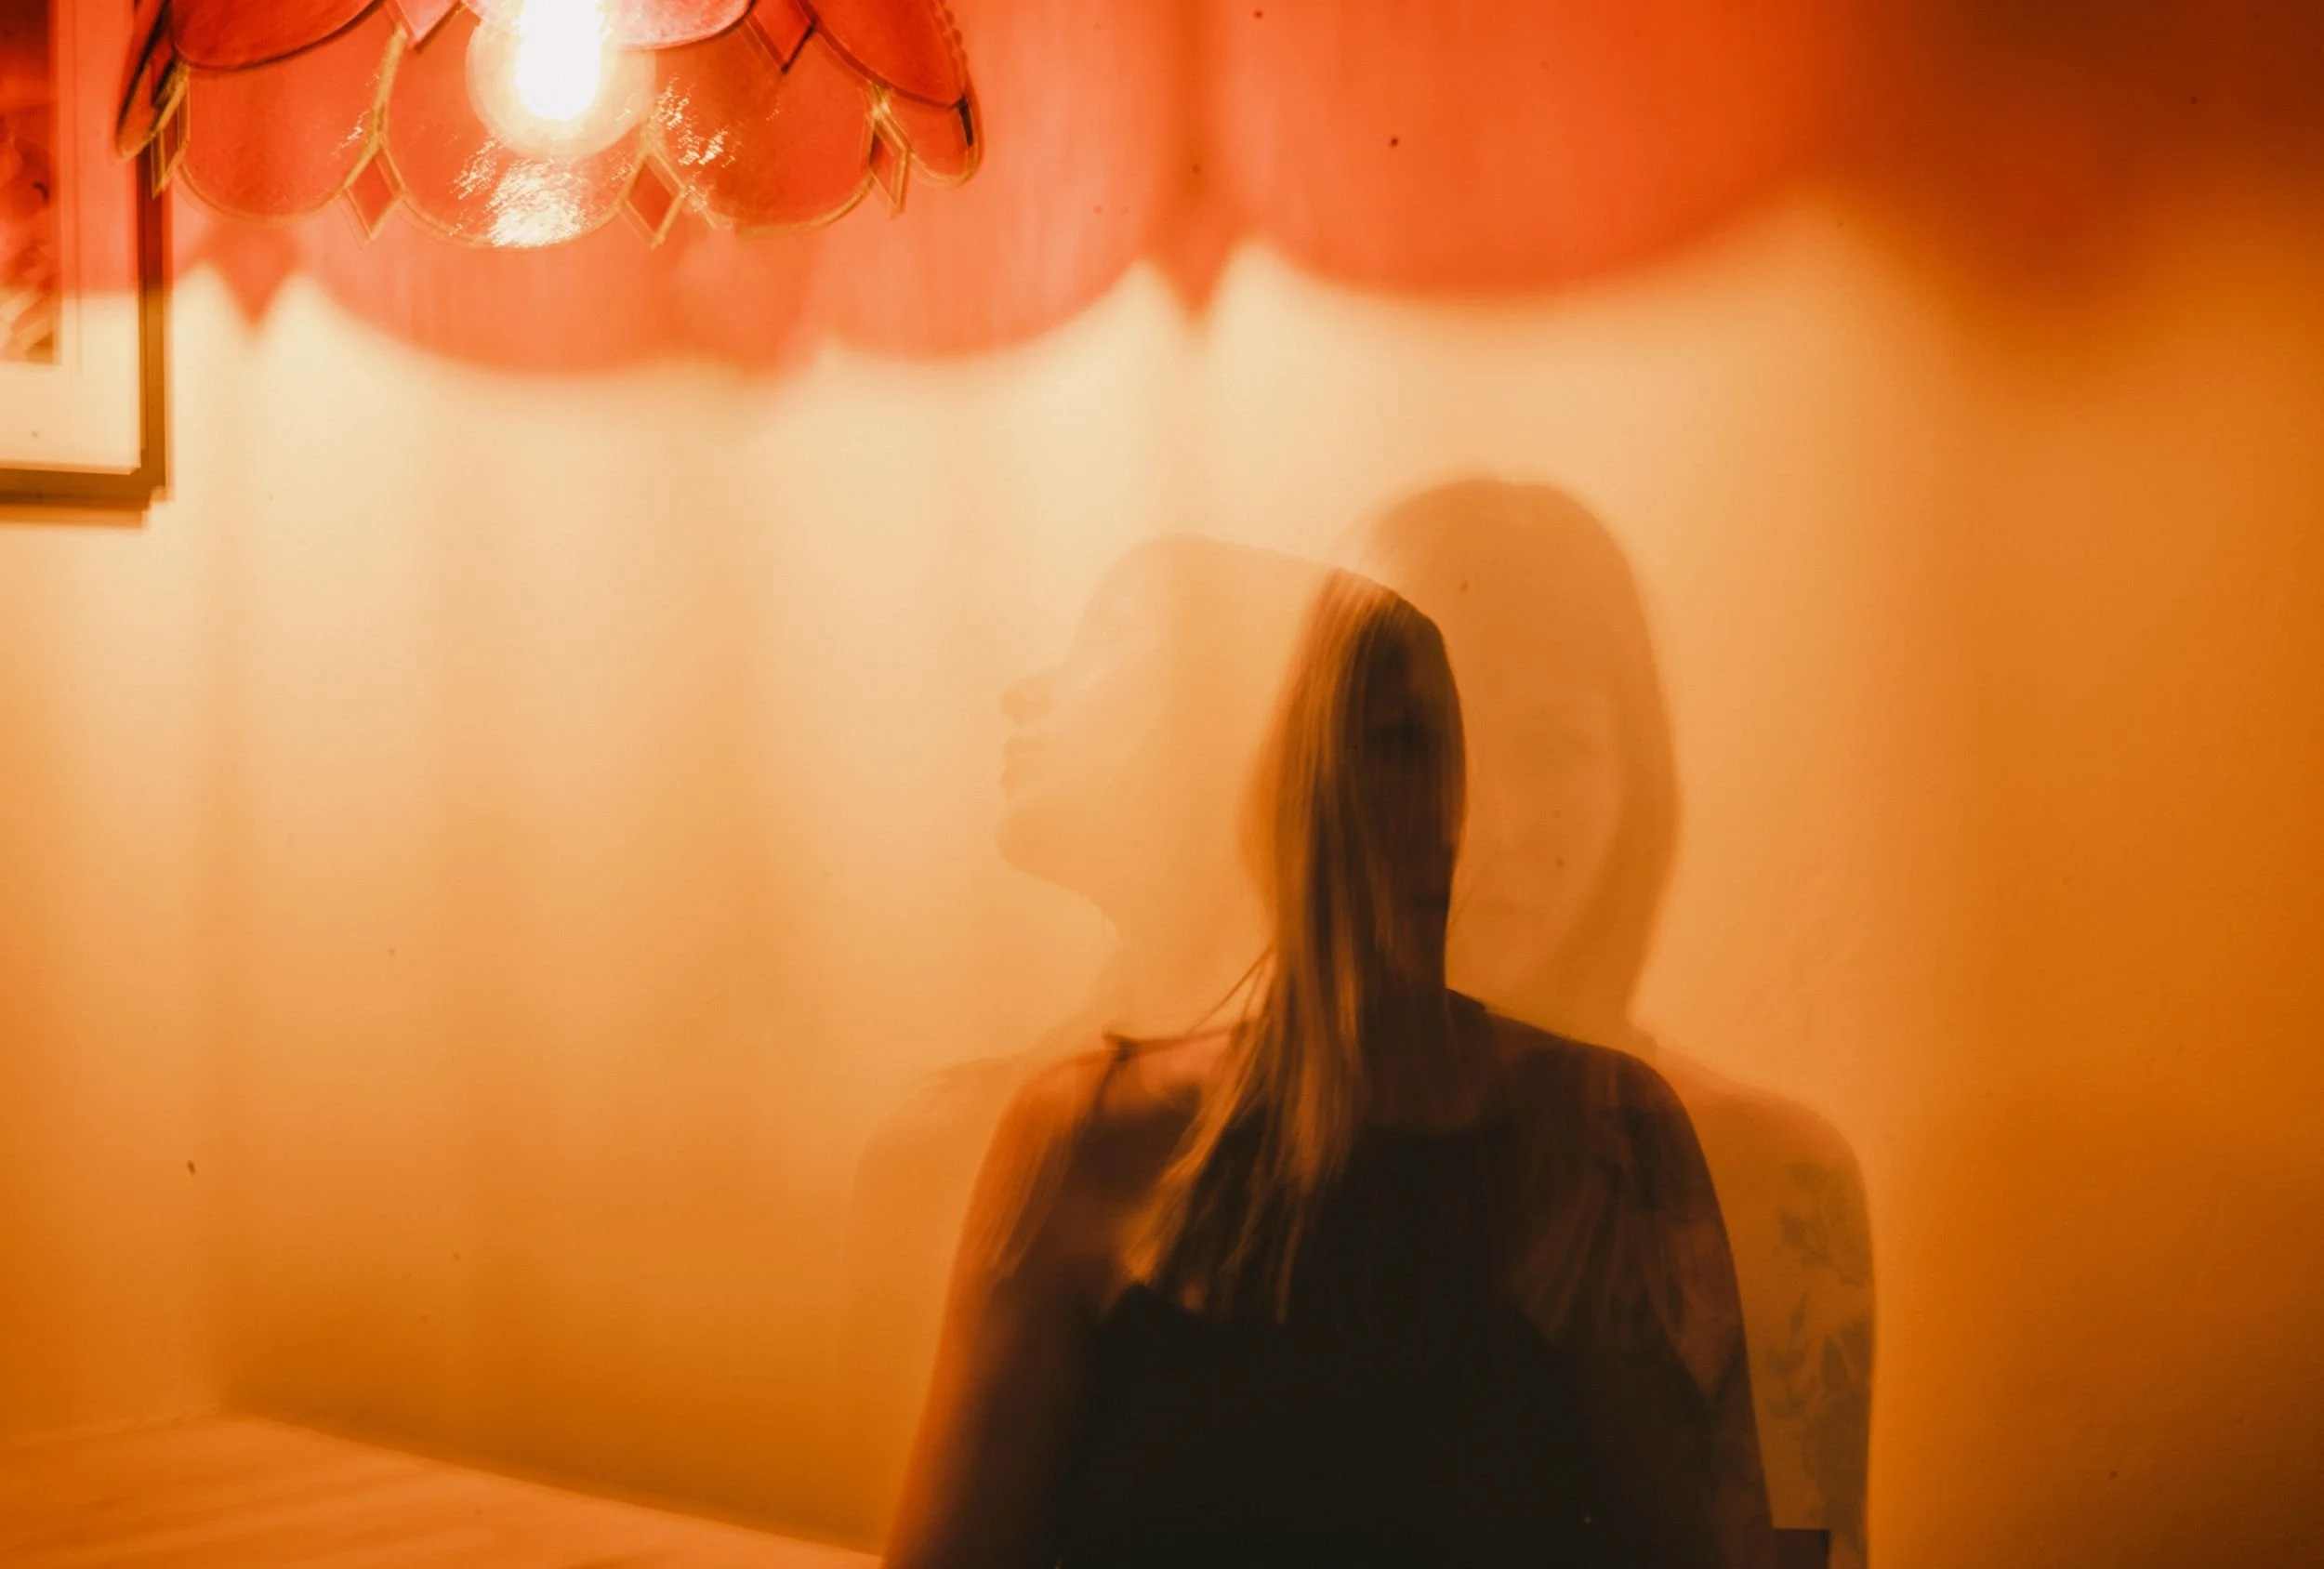
Long exposure photography is a technique based on keeping the camera shutter open for a certain amount of time, depending on the concept you’re going for. It can go for a couple of seconds up to half an hour. Preferably done with a tripod as still as possible to avoid the camera shaking. This method is great for capturing city lights, astrophotography, beach waves, and basically anything that has any sort of motion.
During this time, there was a lot of trial and error with the amount of camera shake. This is where a handy tripod comes in! Simply secure your camera, point or direct your subject, and patiently wait for the exposure to end. Needless to say, hand-holding your camera while doing this method was a struggle, as was finding the right light and motion that worked for my subject, in this case, Teal. But after warming up and collaborating together, we were able to capture the shot I was aiming for.
The retreat home where we were staying had these beautiful vintage lights, and I wanted to take advantage of our stunning set up for our 30 minute photo challenge. Hence the red, moody light. Originally, I wanted to style Teal’s hair and make-up playing with colors and glitter to contrast with the moody light, but due to the limited time we have, I had to pivot and work with what I’ve got.
As for my inspiration, I wanted to capture a moment of stillness and calmness among the chaos. Since, during this moment, a lot of things were happening left and right, everyone was trying to find the perfect location, light, and composition—things were a little chaotic. Chaotic in the best and most creative way.
5. TRIPTYCH by Enrique

The Three-panel photo composition is a visual arrangement of three separate images or frames, often displayed side by side, to create a cohesive narrative or convey a particular message.
My biggest challenge is that I didn’t know what it was initially, so I had to do research to get the right idea. This technique is mostly used in photography, but since I am a filmmaker, I don’t know that visual language.
You have to learn a rule to break it, so I understood the definition and created my own interpretation. And it goes like this: Since the retreat house was western decor, I saw a lot of Native American art on the wall, and our room had a bright red overhead lamp. It made me think of the red war paint Native Americans would do to scare their opponents – I always thought it was a cool concept.
So, I thought I’d recreate it with light. I had my model Jules get close to the light, just above her cheeks, to create the illusion of the red on her face. I also added the other two photos of her hands because …. why not try to incorporate another element?
In the end, I think it complements the main image and gives the photo a spiritual sense. Also, I wanted a black-and-white image that speaks more to Jules’ lightness and darkness because deep within us, there are different parts of self, and we choose to see what we choose to see.
6. NEGATIVE SPACE by Pauline
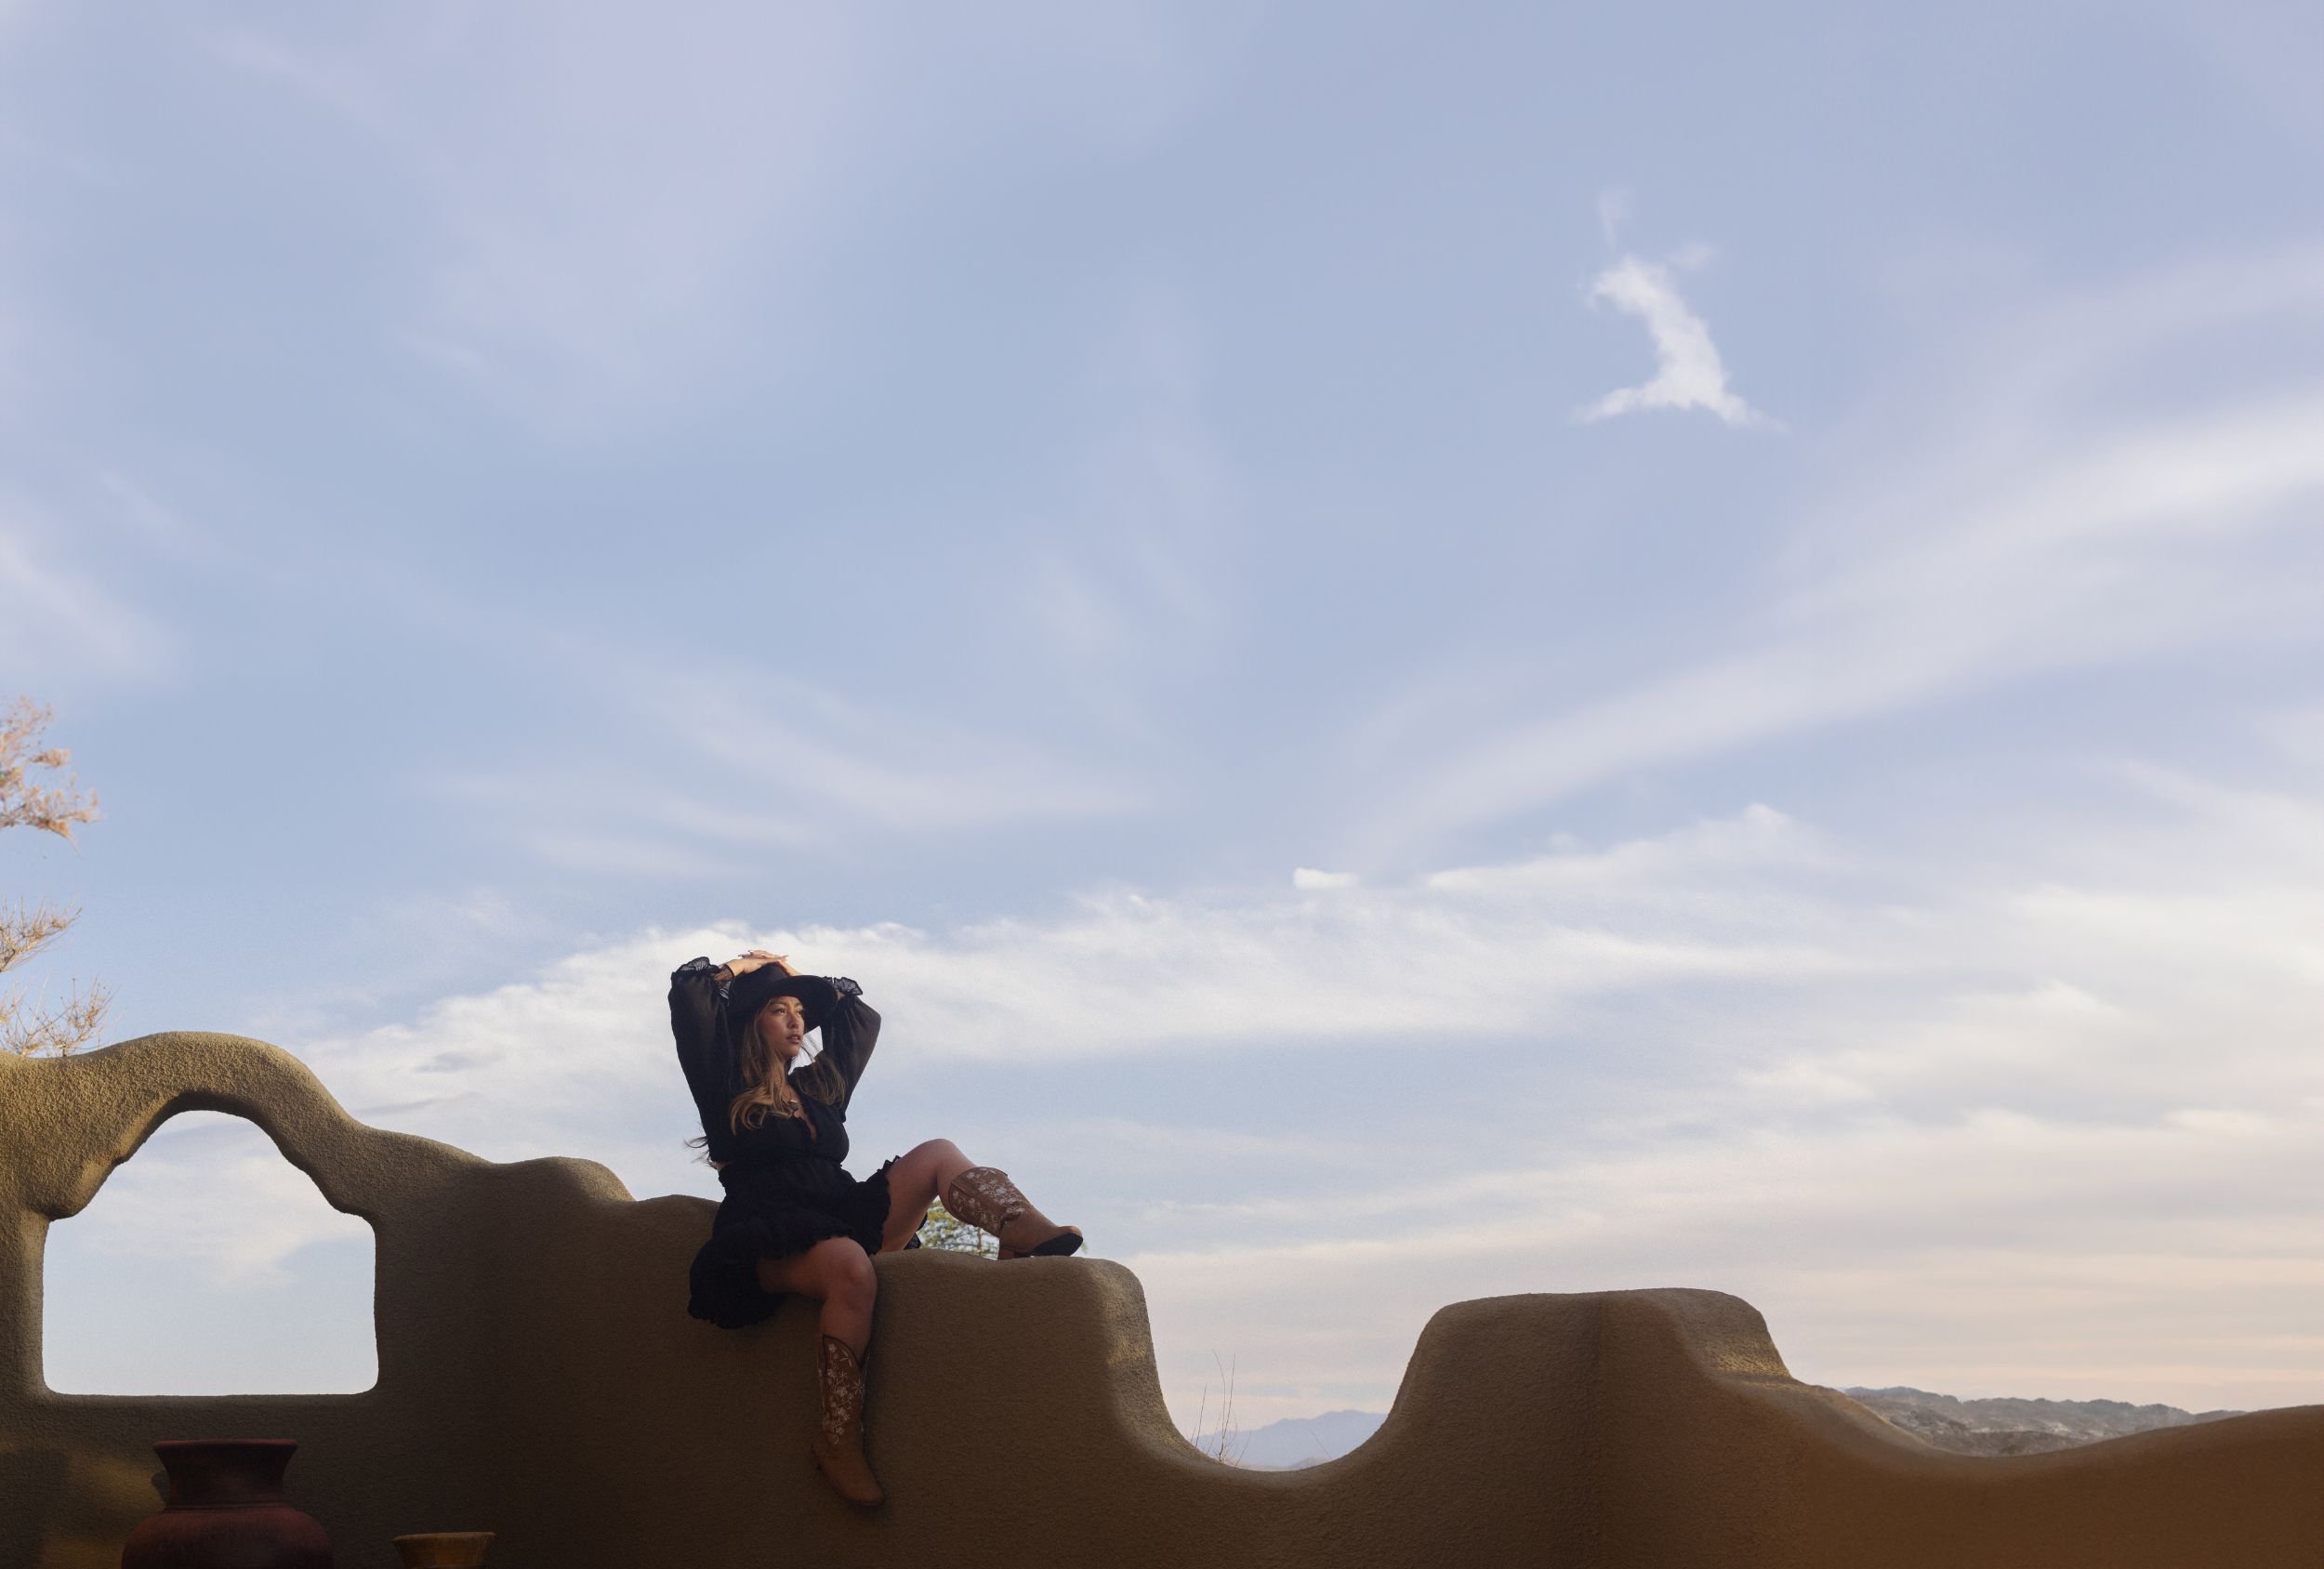
Negative space photography is a composition technique where you intentionally create empty or unoccupied space around or in between your main subject. Typically, the main subject is the focal point of your image, but with negative space, the focal point tends to shift away from what you would normally consider the main subject.
Negative space allows you to produce a uniquely enhanced visual by creating a sense of minimalism and balance.
My main subject was Lexie. The home we were photographing was located on top of a large hill with gorgeous views, and the outdoor space was designed beautifully. Because of this, I decided to photograph Lexie outdoors. We had blue skies with wispy clouds that day, so I used the sky as my negative space. There was a tall, uniquely curved, stucco wall with a little window in it that I imagined Lexie sitting in with her flowy dress.
The biggest challenge I encountered when composing the photograph was the lens I was using and limitations in the distance I could maintain from Lexie. I was photographing with a 50mm lens, and the house was near this stucco wall, which limited how far I could stand from the subject. Photographing with a 50mm lens gives you a narrower field of view, and for this concept, using a wide-angle lens like a 24mm or even an 18mm would have been more ideal.
That’s where Photoshop’s new AI-powered Generative Fill tool comes in. In order to have access to this tool, you must be on the Beta version of Photoshop. This tool allows you to extend the background of an image seamlessly, and it was perfect for what I needed.